前回【Substance Designer】スタイライズな地面を作ろう①に引き続きスタイライズなテクスチャを作っていきましょう。
まずは小石を作ります。
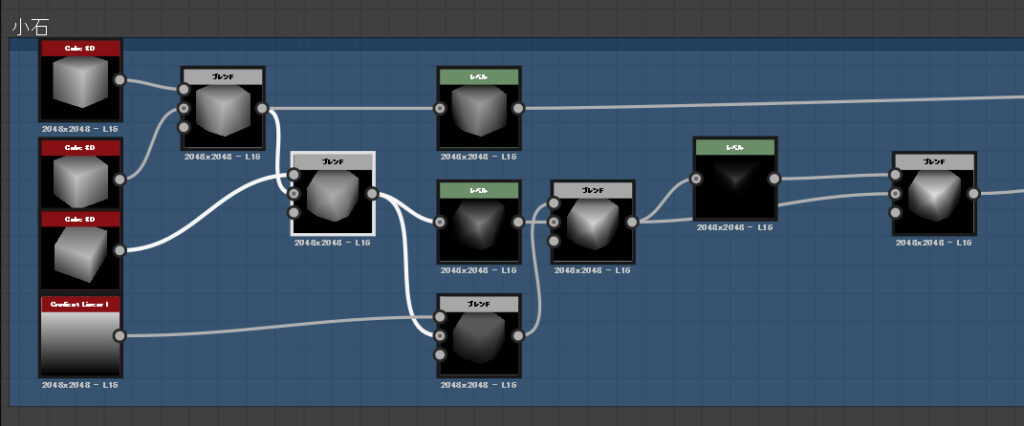
cube3Dを2つ出して少し形をずらしたらブレンドにつなぎましょう。
モードは最小(暗)です。
レベルにつないで少し暗めに落としておきます。

同じようにもう一つ小石を作っておきましょう。
多少エッジを強調したかったためレベルを使ってエッジを強調したものをブレンド(スクリーン)でつないでいます。
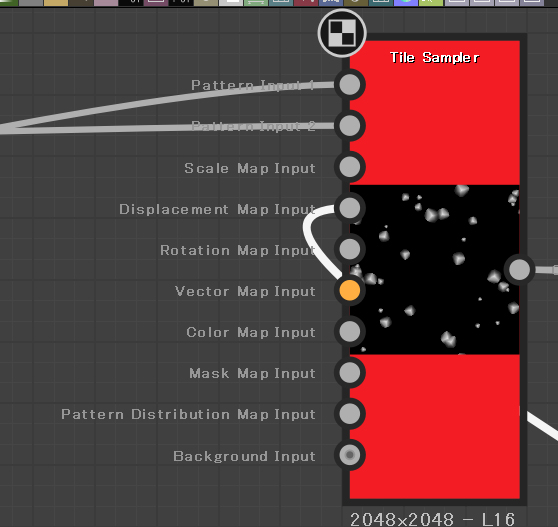

次に小石を配置してきましょう。
tile samplerを出します。
Pattern input Numberを2にして パターンをPattern Inputにします。
Pattern Inputの1と2に先ほど作った小石のノードを繋ぎます。
XとYのAmountはそれぞれ6にしています。
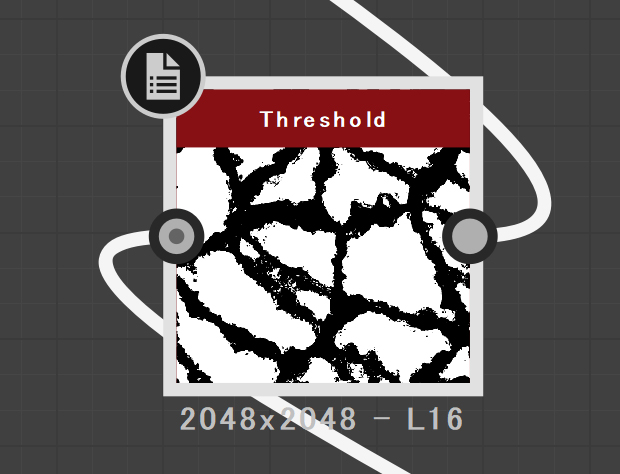
前回作った溝をThresholdに通して白黒画像にしてTile SumplerのDisplacement Map Input につなぎます。
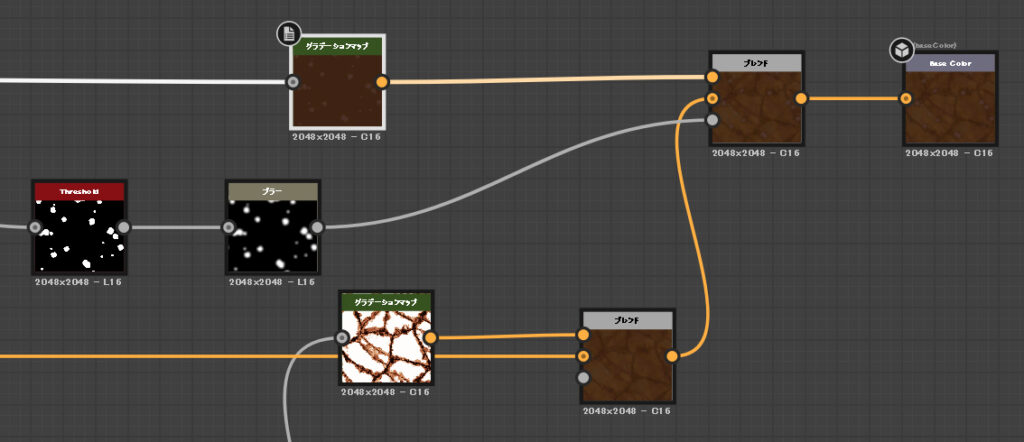
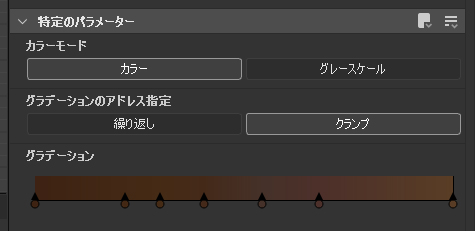
ここにつなぐことによって溝の上に石が乗ります。 グラデーションマップで色を付けて前回作った地面テクスチャと組み合わせたら完成です。
お付き合いいただきありがとうございました